Introduction Last updated: 2024-04-22

ToyStack.ai is an innovative platform designed to streamline and simplify the development process for both backend and frontend aspects of web applications. It particularly shines when used in conjunction with streaming services that are containerized using Docker. This synergy allows developers to achieve more efficient development workflows, easier scalability, and enhanced deployment processes.

Installation

We have the apps and integrations for both in the github and bitbucket


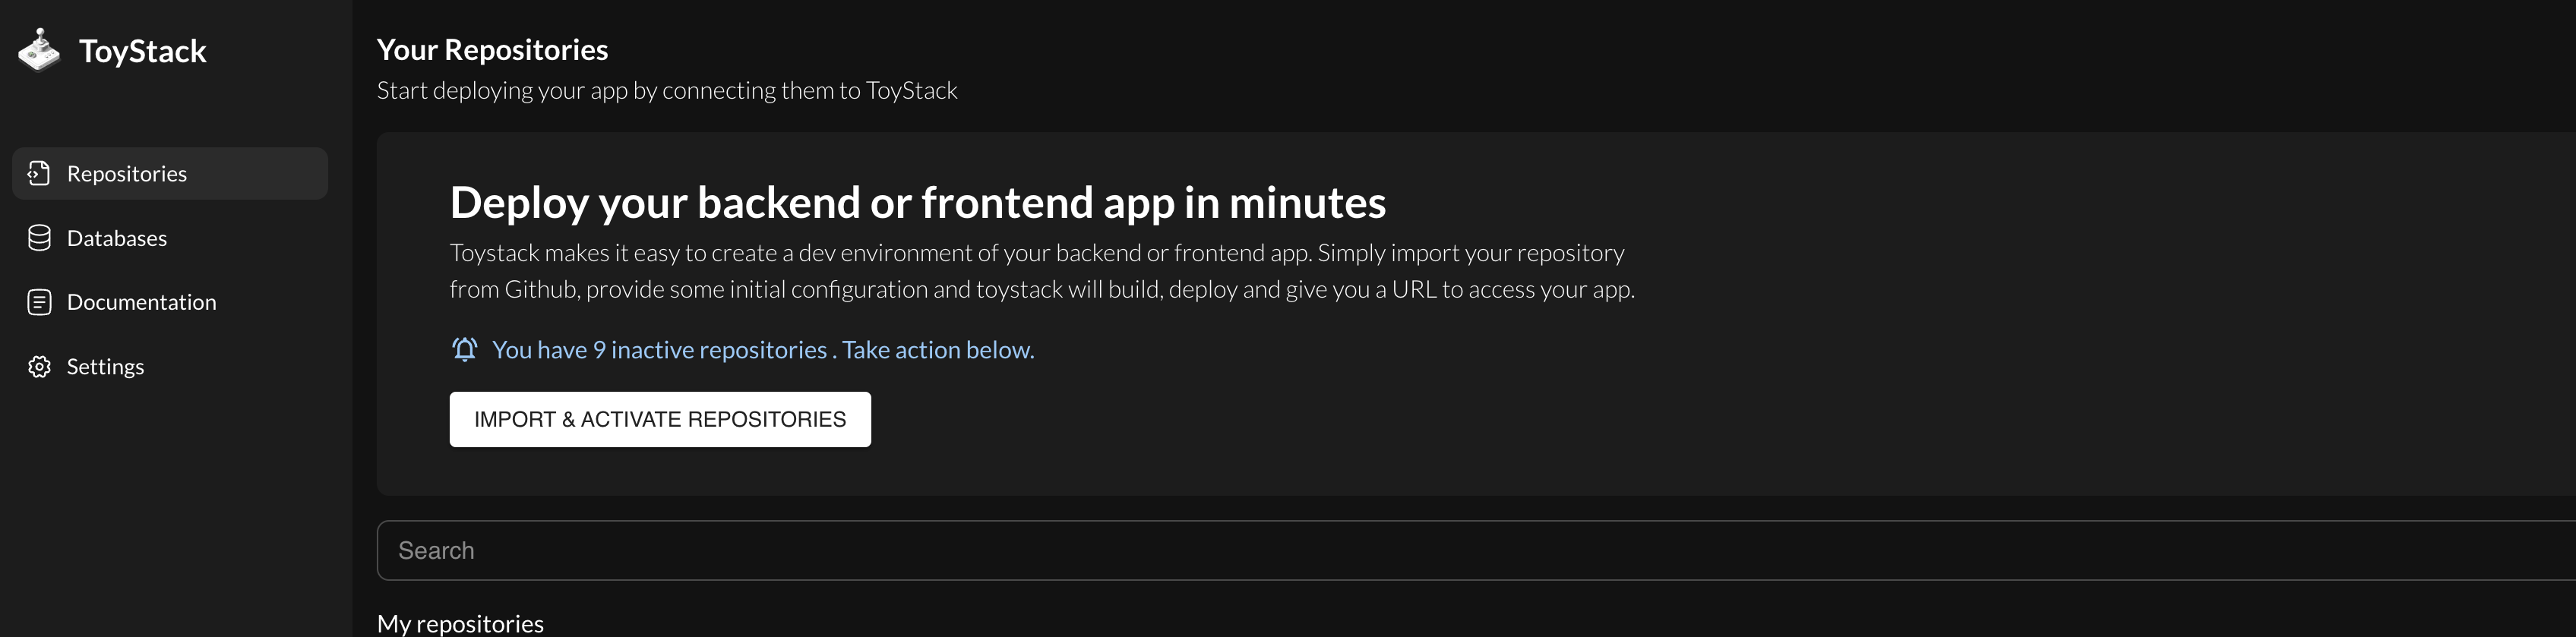
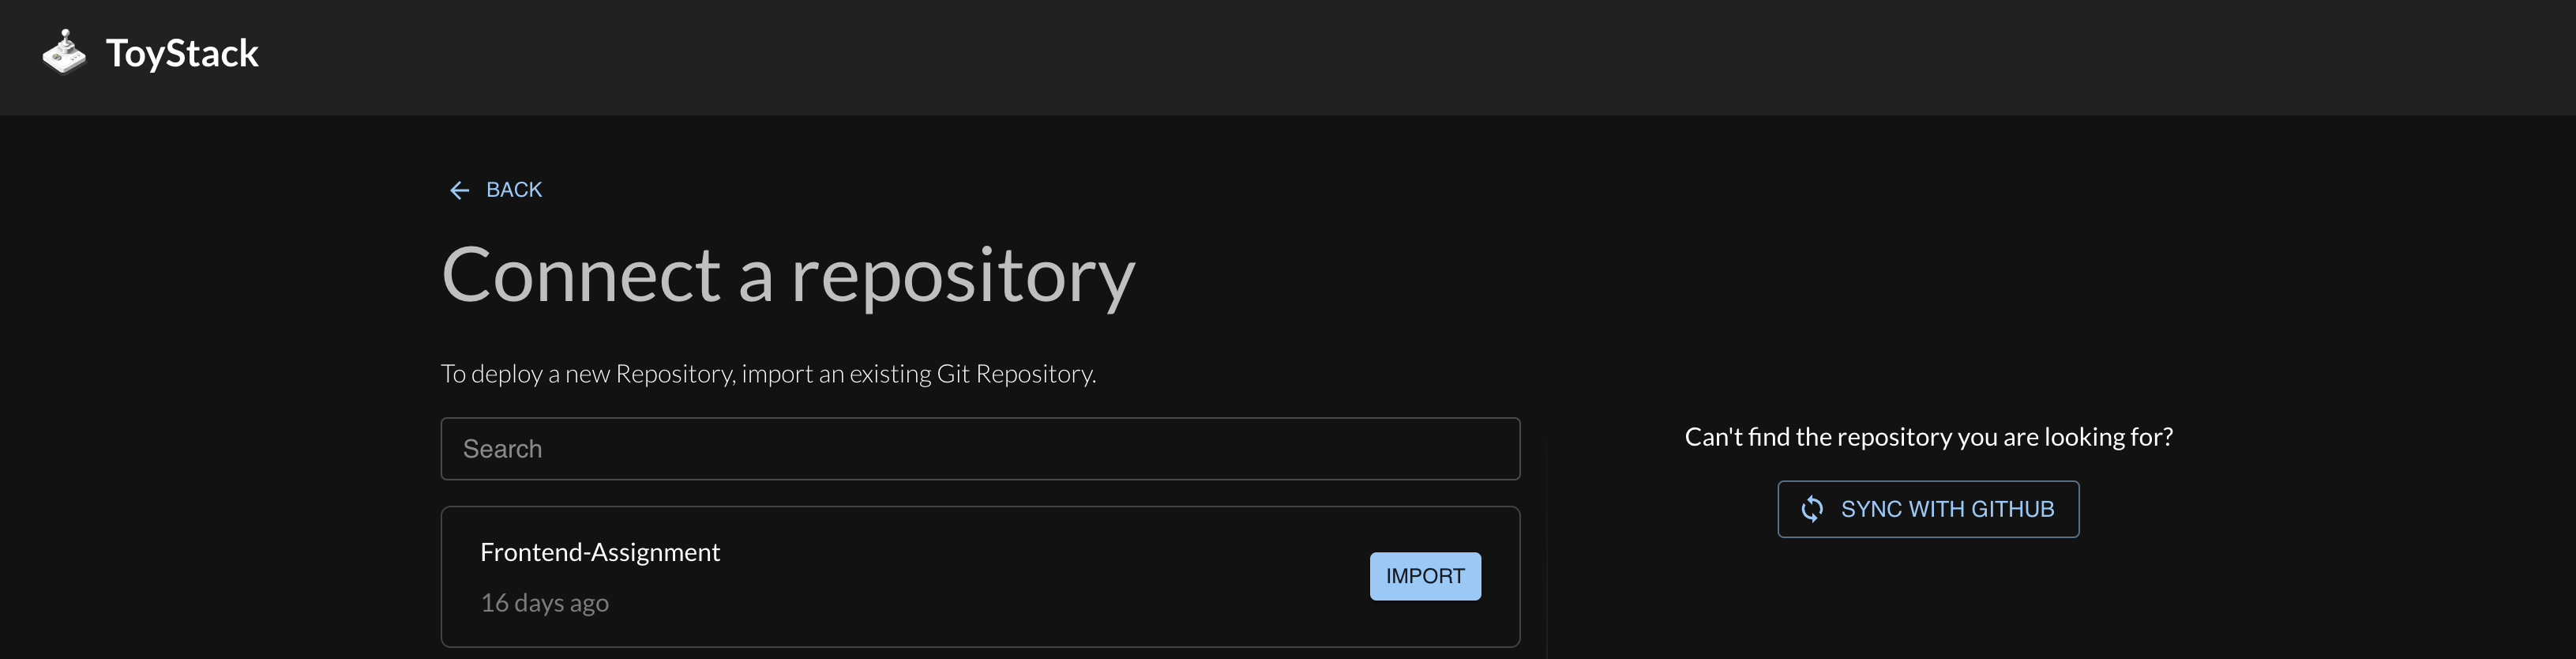
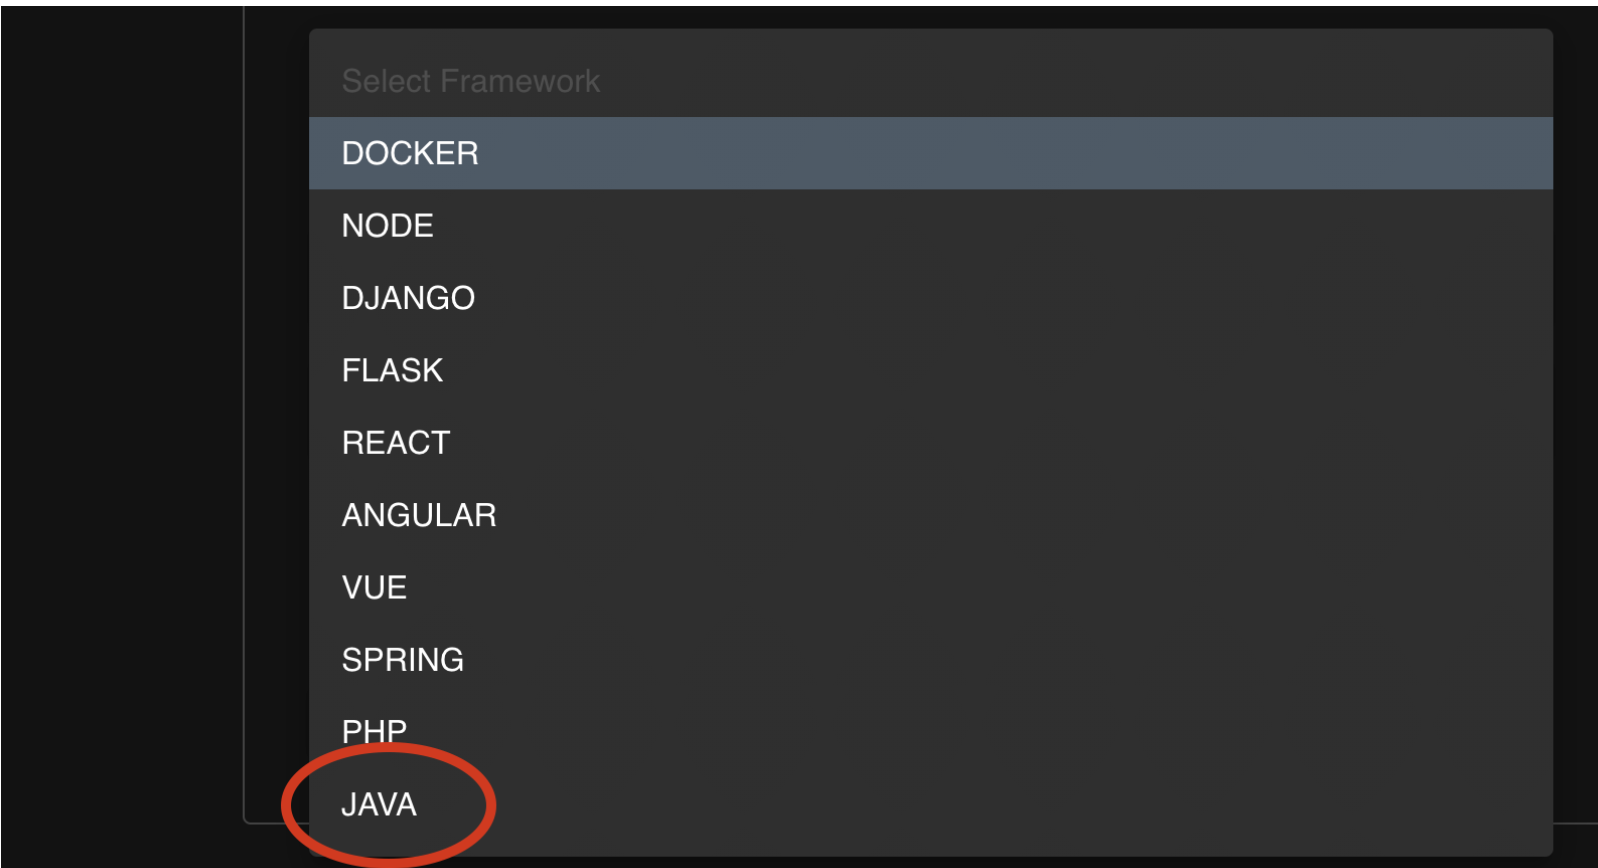
Once installed please select the repos that you want to automate the deployments while installing the github app

Bitbucket

Syncing with Bitbucket

Access the Toystack.ai dashboard by logging in, which ensures your Bitbucket repositories are automatically synchronized based on your login credentials. This seamless integration streamlines the workflow, allowing for an efficient and organized management of your projects directly from the dashboard.

Frameworks

These are the frameworks that we support.

Node.js Logo Django Logo Flask Logo Java Logo PHP Logo React.js Logo Go Lang Logo


Databases

These are the databases that you can use.

Postgres Logo Redis Logo

Node.js(Javascript)

Getting started

Browse the Toystack application https://dashboard.toystack.ai/ You can log in using either Bitbucket or GitHub. If you choose GitHub, you will need to follow a second step. However, if you opt for Bitbucket, the process is automatic and does not require this additional step.   Toystack

Connect Repositories

To update your dashboard, select the "Add New Repository or Sync Repos" option. This allows you to synchronize your repositories efficiently.   Toystack

Sync With GitHub and Import

On the "Connect a Repository" screen, initiate the synchronization process by selecting the "Sync with GitHub" option. Proceed by clicking the "Install" button to incorporate the Toystack application into your GitHub account. After installation, navigate back to the Toystack website, where you should now see your repository listed. To import the repository's code into Toystack, click on the "Import" button.
  Toystack

Settings & Configuration And Activate

In the project settings, you can customize your project's configuration, including adding any environment variables that are needed. Environment variables are key for storing sensitive data or configurations that differ between development and production environments. This setup allows for a more secure and flexible project management approach.

  Toystack

Docker file for the Node.js template configure it in the root of the project


Settings Of The Repository

In the settings of your repository, you have the option to specify a PORT number for use, such as 8080 it has to be same in your code and docker as well. Additionally, within the same settings page, you have the ability to activate the feature for deploying via pull requests. This enables a more dynamic and automated workflow, enhancing the development and deployment process by allowing for immediate feedback and integration of changes submitted through pull requests.

Deploy By Branch

To deploy your code, navigate to the home page and click on the "Deploy from a branch" button. Choose the branch you wish to deploy and set the duration for which the deployment will remain valid.

Django(Python)

Getting started

Browse the Toystack application https://dashboard.toystack.ai/ You can log in using either Bitbucket or GitHub. If you choose GitHub, you will need to follow a second step. However, if you opt for Bitbucket, the process is automatic and does not require this additional step.   Toystack

Connect Repositories

To update your dashboard, select the "Add New Repository or Sync Repos" option. This allows you to synchronize your repositories efficiently.   Toystack

Sync With GitHub and Import

On the "Connect a Repository" screen, initiate the synchronization process by selecting the "Sync with GitHub" option. Proceed by clicking the "Install" button to incorporate the Toystack application into your GitHub account. After installation, navigate back to the Toystack website, where you should now see your repository listed. To import the repository's code into Toystack, click on the "Import" button.
  Toystack

Settings & Configuration And Activate

In the project settings, you can customize your project's configuration, including adding any environment variables that are needed. Environment variables are key for storing sensitive data or configurations that differ between development and production environments. This setup allows for a more secure and flexible project management approach.

  Toystack

Docker file for the Django template configure it in the root of the project


Settings Of The Repository

In the settings of your repository, you have the option to specify a PORT number for use, such as 8080 it has to be same in your code and docker as well. Additionally, within the same settings page, you have the ability to activate the feature for deploying via pull requests. This enables a more dynamic and automated workflow, enhancing the development and deployment process by allowing for immediate feedback and integration of changes submitted through pull requests.

Deploy By Branch

To deploy your code, navigate to the home page and click on the "Deploy from a branch" button. Choose the branch you wish to deploy and set the duration for which the deployment will remain valid.

Flask(Python)

Getting started

Browse the Toystack application https://dashboard.toystack.ai/ You can log in using either Bitbucket or GitHub. If you choose GitHub, you will need to follow a second step. However, if you opt for Bitbucket, the process is automatic and does not require this additional step.   Toystack

Connect Repositories

To update your dashboard, select the "Add New Repository or Sync Repos" option. This allows you to synchronize your repositories efficiently.   Toystack

Sync With GitHub and Import

On the "Connect a Repository" screen, initiate the synchronization process by selecting the "Sync with GitHub" option. Proceed by clicking the "Install" button to incorporate the Toystack application into your GitHub account. After installation, navigate back to the Toystack website, where you should now see your repository listed. To import the repository's code into Toystack, click on the "Import" button.
  Toystack

Settings & Configuration And Activate

In the project settings, you can customize your project's configuration, including adding any environment variables that are needed. Environment variables are key for storing sensitive data or configurations that differ between development and production environments. This setup allows for a more secure and flexible project management approach.

  Toystack

Docker file for the Flask template configure it in the root of the project


Settings Of The Repository

In the settings of your repository, you have the option to specify a PORT number for use, such as 8080 it has to be same in your code and docker as well. Additionally, within the same settings page, you have the ability to activate the feature for deploying via pull requests. This enables a more dynamic and automated workflow, enhancing the development and deployment process by allowing for immediate feedback and integration of changes submitted through pull requests.

Deploy By Branch

To deploy your code, navigate to the home page and click on the "Deploy from a branch" button. Choose the branch you wish to deploy and set the duration for which the deployment will remain valid.

Java

Getting started

Browse the Toystack application https://dashboard.toystack.ai/ You can log in using either Bitbucket or GitHub. If you choose GitHub, you will need to follow a second step. However, if you opt for Bitbucket, the process is automatic and does not require this additional step.   Toystack

Connect Repositories

To update your dashboard, select the "Add New Repository or Sync Repos" option. This allows you to synchronize your repositories efficiently. Toystack

Sync With GitHub and Import

On the "Connect a Repository" screen, initiate the synchronization process by selecting the "Sync with GitHub" option. Proceed by clicking the "Install" button to incorporate the Toystack application into your GitHub account. After installation, navigate back to the Toystack website, where you should now see your repository listed. To import the repository's code into Toystack, click on the "Import" button.
Toystack

Settings & Configuration And Activate

In the project settings, you can customize your project's configuration, including adding any environment variables that are needed. Environment variables are key for storing sensitive data or configurations that differ between development and production environments. This setup allows for a more secure and flexible project management approach.

Toystack

Toystack

Settings Of The Repository

In the settings of your repository, you have the option to specify a PORT number for use, such as 8081 it has to be same in your code and docker as well. Additionally, within the same settings page, you have the ability to activate the feature for deploying via pull requests. This enables a more dynamic and automated workflow, enhancing the development and deployment process by allowing for immediate feedback and integration of changes submitted through pull requests.

Deploy By Branch

To deploy your code, navigate to the home page and click on the "Deploy from a branch" button. Choose the branch you wish to deploy and set the duration for which the deployment will remain valid.

PHP

Getting started

Browse the Toystack application https://dashboard.toystack.ai/ You can log in using either Bitbucket or GitHub. If you choose GitHub, you will need to follow a second step. However, if you opt for Bitbucket, the process is automatic and does not require this additional step.   Toystack

Connect Repositories

To update your dashboard, select the "Add New Repository or Sync Repos" option. This allows you to synchronize your repositories efficiently. Toystack

Sync With GitHub and Import

On the "Connect a Repository" screen, initiate the synchronization process by selecting the "Sync with GitHub" option. Proceed by clicking the "Install" button to incorporate the Toystack application into your GitHub account. After installation, navigate back to the Toystack website, where you should now see your repository listed. To import the repository's code into Toystack, click on the "Import" button.
Toystack

Settings & Configuration And Activate

In the project settings, you can customize your project's configuration, including adding any environment variables that are needed. Environment variables are key for storing sensitive data or configurations that differ between development and production environments. This setup allows for a more secure and flexible project management approach.

Toystack

Toystack

Settings Of The Repository

In the settings of your repository, you have the option to specify a PORT number for use, such as 8081 it has to be same in your code and docker as well. Additionally, within the same settings page, you have the ability to activate the feature for deploying via pull requests. This enables a more dynamic and automated workflow, enhancing the development and deployment process by allowing for immediate feedback and integration of changes submitted through pull requests.

Deploy By Branch

To deploy your code, navigate to the home page and click on the "Deploy from a branch" button. Choose the branch you wish to deploy and set the duration for which the deployment will remain valid.

Frontend(With Docker)

Getting started

Browse the Toystack application https://dashboard.toystack.ai/ You can log in using either Bitbucket or GitHub. If you choose GitHub, you will need to follow a second step. However, if you opt for Bitbucket, the process is automatic and does not require this additional step.   Toystack

Connect Repositories

To update your dashboard, select the "Add New Repository or Sync Repos" option. This allows you to synchronize your repositories efficiently.   Toystack

Sync With GitHub and Import

On the "Connect a Repository" screen, initiate the synchronization process by selecting the "Sync with GitHub" option. Proceed by clicking the "Install" button to incorporate the Toystack application into your GitHub account. After installation, navigate back to the Toystack website, where you should now see your repository listed. To import the repository's code into Toystack, click on the "Import" button.
  Toystack

Settings & Configuration And Activate

In the project settings, you can customize your project's configuration, including adding any environment variables that are needed. Environment variables are key for storing sensitive data or configurations that differ between development and production environments. This setup allows for a more secure and flexible project management approach.

  Toystack

Docker file for the ReactJs template configure it in the root of the project


Settings Of The Repository

In the settings of your repository, you have the option to specify a PORT number for use, such as 3000 it has to be same in your code and docker as well. Additionally, within the same settings page, you have the ability to activate the feature for deploying via pull requests. This enables a more dynamic and automated workflow, enhancing the development and deployment process by allowing for immediate feedback and integration of changes submitted through pull requests.

Deploy By Branch

To deploy your code, navigate to the home page and click on the "Deploy from a branch" button. Choose the branch you wish to deploy and set the duration for which the deployment will remain valid.

GoLang

Getting started

Browse the Toystack application https://dashboard.toystack.ai/ You can log in using either Bitbucket or GitHub. If you choose GitHub, you will need to follow a second step. However, if you opt for Bitbucket, the process is automatic and does not require this additional step.   Toystack

Connect Repositories

To update your dashboard, select the "Add New Repository or Sync Repos" option. This allows you to synchronize your repositories efficiently.   Toystack

Sync With GitHub and Import

On the "Connect a Repository" screen, initiate the synchronization process by selecting the "Sync with GitHub" option. Proceed by clicking the "Install" button to incorporate the Toystack application into your GitHub account. After installation, navigate back to the Toystack website, where you should now see your repository listed. To import the repository's code into Toystack, click on the "Import" button.
  Toystack

Settings & Configuration And Activate

In the project settings, you can customize your project's configuration, including adding any environment variables that are needed. Environment variables are key for storing sensitive data or configurations that differ between development and production environments. This setup allows for a more secure and flexible project management approach.

  Toystack

Docker file for the Go Lang Docker template configure it in the root of the project


Settings Of The Repository

In the settings of your repository, you have the option to specify a PORT number for use, such as 8080 it has to be same in your code and docker as well. Additionally, within the same settings page, you have the ability to activate the feature for deploying via pull requests. This enables a more dynamic and automated workflow, enhancing the development and deployment process by allowing for immediate feedback and integration of changes submitted through pull requests.

Deploy By Branch

To deploy your code, navigate to the home page and click on the "Deploy from a branch" button. Choose the branch you wish to deploy and set the duration for which the deployment will remain valid.

Databases

Spinning up a Postgres and Redis

Browse the Toystack application https://dashboard.toystack.ai/ You can log in using either Bitbucket or GitHub. If you choose GitHub, you will need to follow a second step. However, if you opt for Bitbucket, the process is automatic and does not require this additional step.   Toystack

Databases Section

Click on the databases section
  Toystack

Selection Between Redis and Postgres

Upon accessing the Databases section, you'll be presented with a dropdown menu where you can choose between PostgreSQL or Redis databases. Please select your preferred database to proceed. You'll then need to provide essential details such as the database name, username, and password. Once the database is successfully set up, you will be directed to the dashboard. This streamlined process ensures you have all the tools at your fingertips to manage your data efficiently.
  Toystack